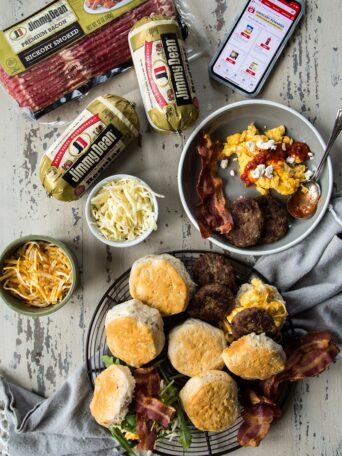
This post has been sponsored by Tyson Foods, Inc. All thoughts and opinions are my own. I have never been one to sleep in....
Read More DIY Biscuit Breakfast Bar
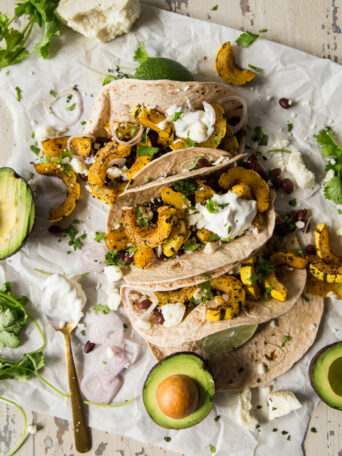
These vegetarian roasted delicata squash soft tacos are quick to make, filling, and hearty! Made in under 30 minutes, you have a healthy dinner...
Read More Roasted Delicata Squash Soft Tacos

Perfect for the whole family, this ultimate one pot chili mac feeds a crowd, and is easy enough for a weeknight meal. Customize it...
Read More Ultimate One Pot Chili Mac

Did you know you could make these fabulous Pumpkin Cranberry Apple Steel Cut Oats in your Instant Pot, in just 25 Minutes?! Amazing! Last...
Read More Pumpkin Cranberry Apple Steel Cut Oats

This post has been sponsored by Happy Egg Co. All thoughts and opinions are my own. Mini mason jar pumpkin pies are an easy...
Read More Mini Mason Jar Pumpkin Pies
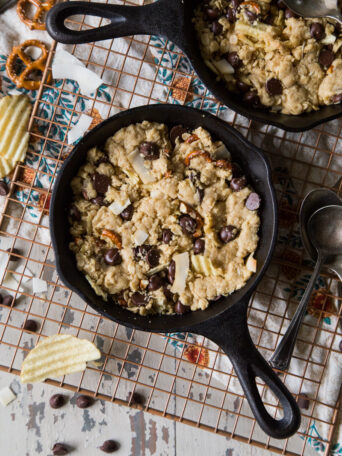
These Little Bit Salty Little Bit Sweet Skillet Cookies are every woman’s dream cookie, with chocolate, chips, coconut, and pretzels all mixed in! Say...
Read More Little Bit Salty Little Bit Sweet Skillet Cookies