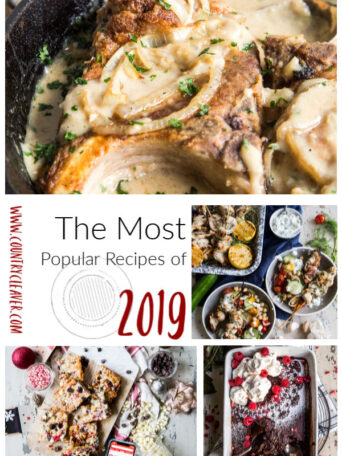
It’s time to wrap up the year, and staring in the face of 2020! I am always so thankful for an opportunity to reflect...
Read More Top 10 Recipes of 2019

Put a Christmas spin on your cookies, with these almond pinwheel Christmas Cookies! They are easy for the kids to help with, and make...
Read More Almond Pinwheel Christmas Cookies

Perfect for the weeknight rush or a Sunday dinner, this Instant Pot rosemary dijon pot roast is an excellent choice for the whole family....
Read More Instant Pot Rosemary Dijon Pot Roast

There are few tests in a relationship quite like interior design work with your spouse. One of us is the creative mind who can...
Read More Modsy Premium Interior Design Package Giveaway

These Seven Layer Magic Bar, are a peppermint lover’s dream, with cool peppermint, white and bittersweet chocolate, walnuts, and sweet coconut. This post has...
Read More 7-Layer White Chocolate Peppermint Magic Bars
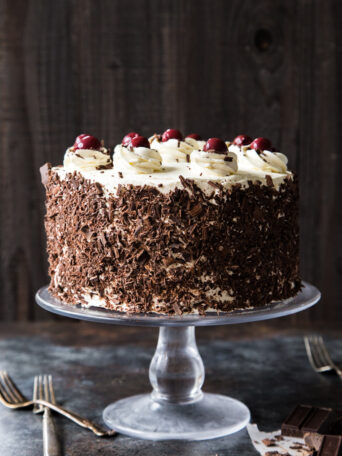
There are so many variations on a Black Forest Cake, but they really miss the mark. This nearly authentic black forest cake gives you...
Read More Nearly Authentic Black Forest Cake