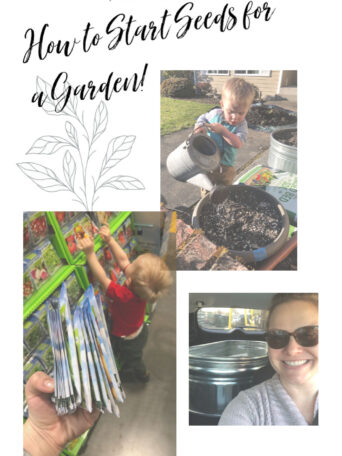
There are lots of ways you can start your own garden, including starting it from seed! Here is how to start seeds for a...
Read More How to Start Seeds for a Garden
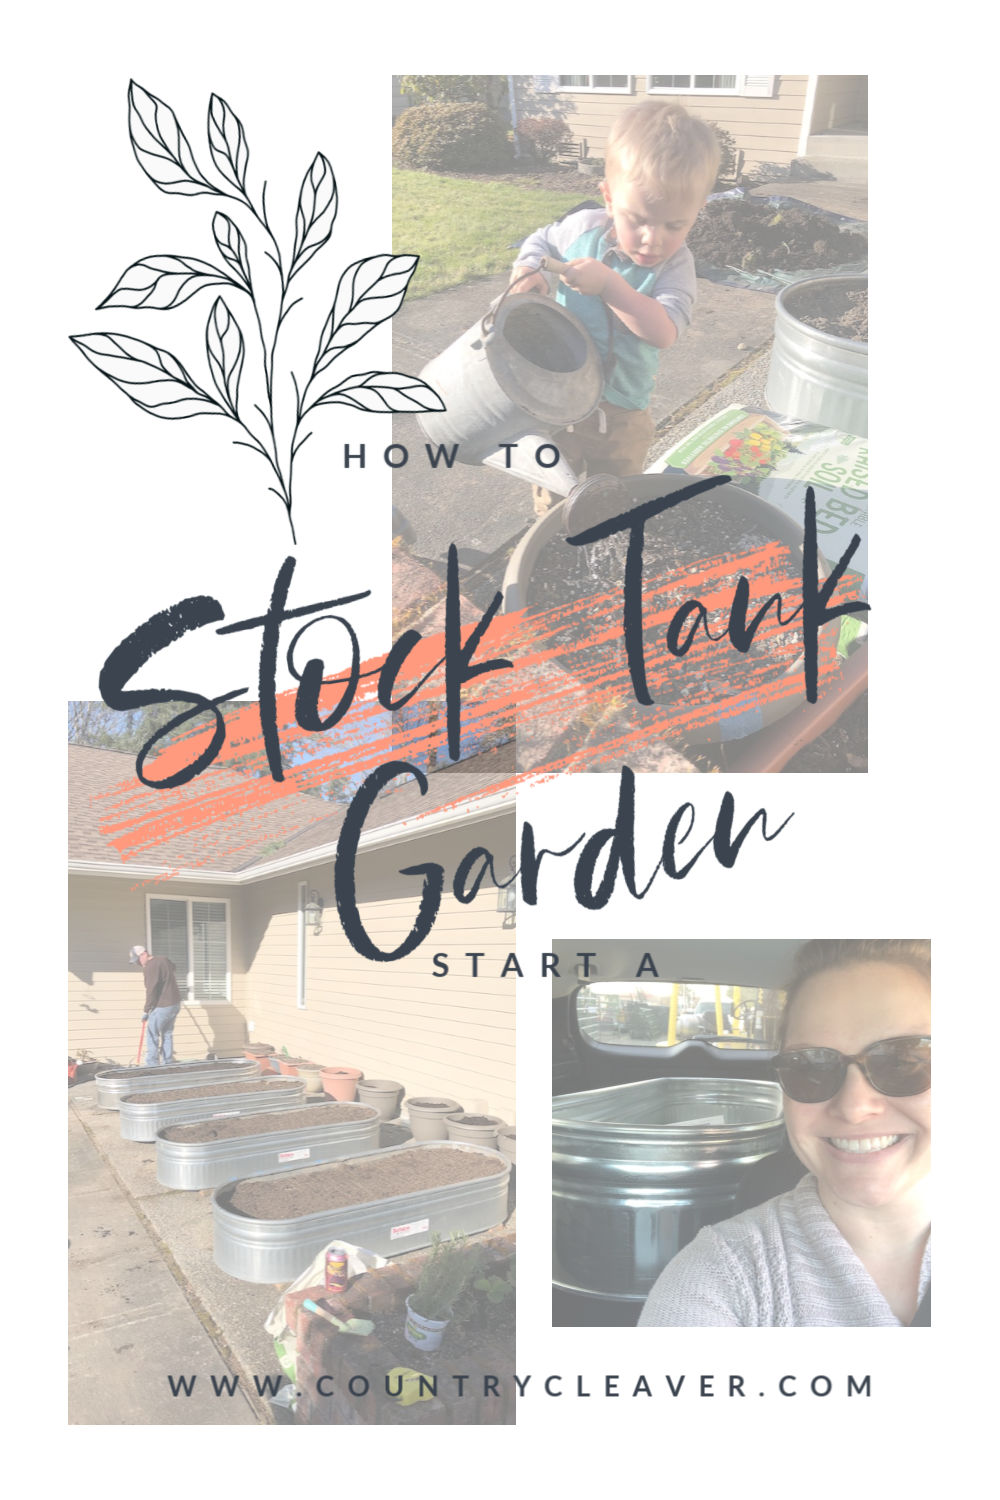
Take the guesswork out of gardening with a tutorial on how to start a stock tank garden! Simple, clean, and totally Pinterest worthy! These...
Read More How To Start A Stock Tank Garden

The best way to start learning bread making! This easy cinnamon English muffin bread is wonderfully toastable, and filled with cinnamon flavor. Bread baking...
Read More Easy Cinnamon English Muffin Bread
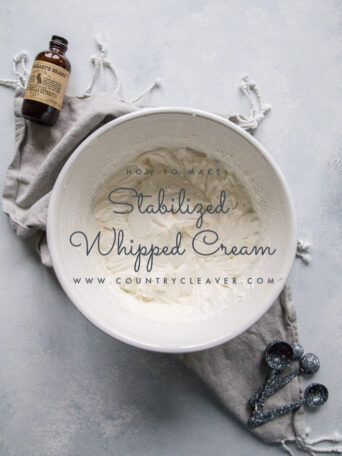
Versatile and impressive this how to make stabilized whipped cream tutorial will come in handy for all your fancy baking needs, such as Black...
Read More How To Make Stabilized Whipped Cream
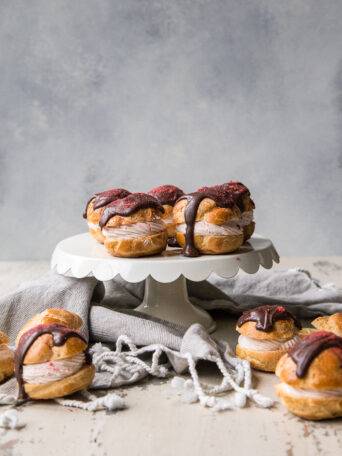
Easier than you imagine, these chocolate covered strawberry cream puffs are dreamy! A few simple steps will get you on your way to fancy...
Read More Chocolate Covered Strawberry Cream Puffs
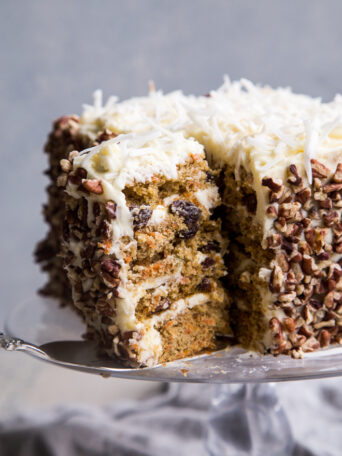
There is nothing more made for spring than this perfect carrot layer cake with buttermilk cream cheese frosting! With thin layers of cake and...
Read More Perfect Carrot Layer Cake with Buttermilk Cream Cheese Frosting