DIY Nautical Mason Jar Vases
Decorating your house doesn’t have to be expensive! And these DIY nautical mason jar vases are so easy and can be made to fit almost any decor! 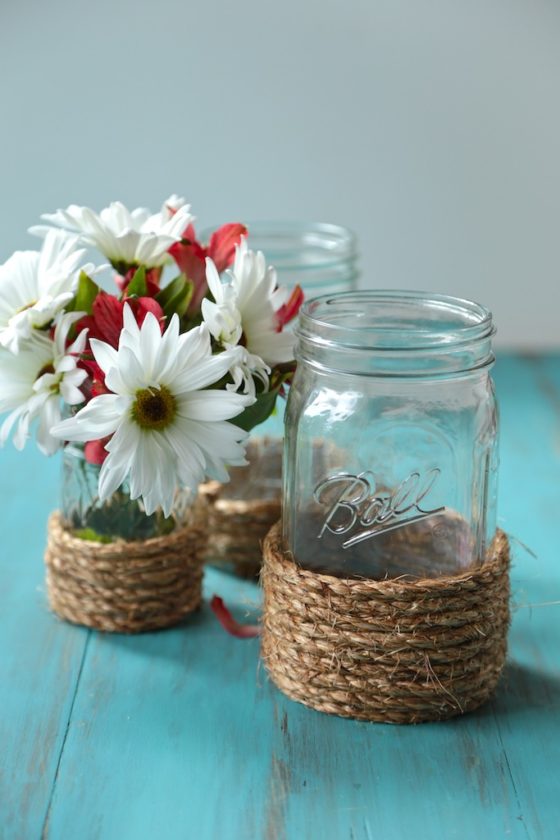
Its Friday and I’m throwing caution to the wind and changing things up here today! I know, it’s all about food normally – but this is FUN Friday and you’re awesome people who like easy and best of all cheap crafts! See? FUN!
Well, a couple of weeks ago I threw a baby shower for my best friend – you might remember her, Beka? She’s the one that you have all helped rally for helping us raise thousands of dollars for the Crohn’s Foundation of America during the Bake Sale for Beka! Now, she’s having a baby and I’m on best friend baby hormonal overload.
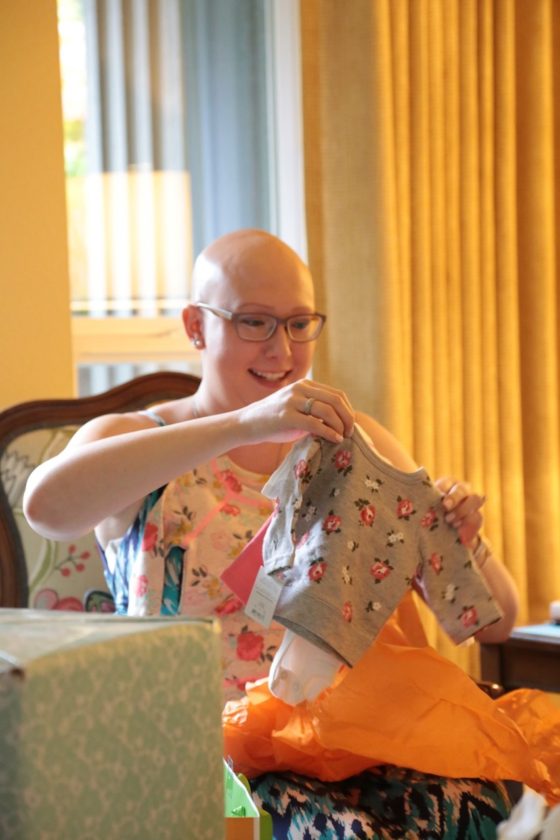
Beka and her family are avid sailors and water lovers, and with a baby room decked out with the most adorable nautical baby stuff ever – this was an obvious theme for her shower. But normal vases would just not do, no no. I had an over abundance of mason jars left from all my canning this year, so I put them to good use with a couple other little things that are easy to pick up at your local hardware store!!
Best of all, 7 jars cost me less than $10 to make! Yes, seriously!
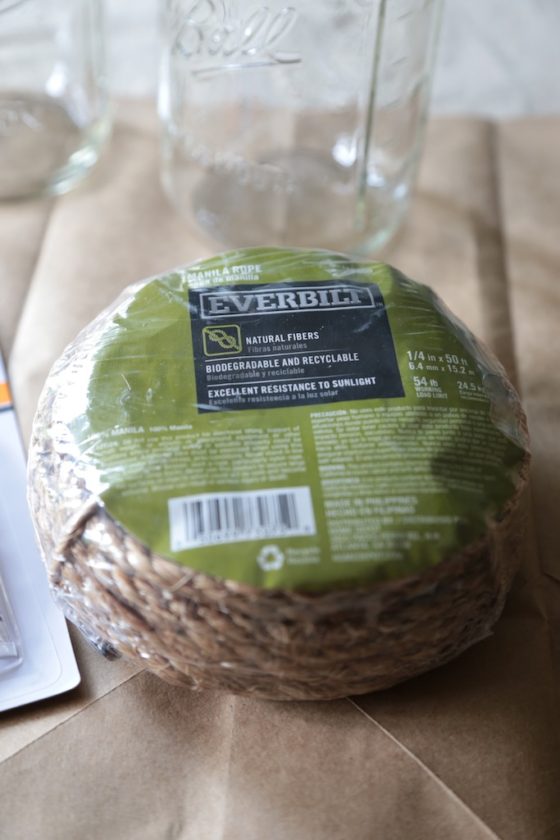
I picked up a roll of the most nautical looking rope I could find, and this manila rope was just the ticket. It came in at a whopping $3.50 a roll. I love the wiry, rustic look of it. It reminds me of old ships.
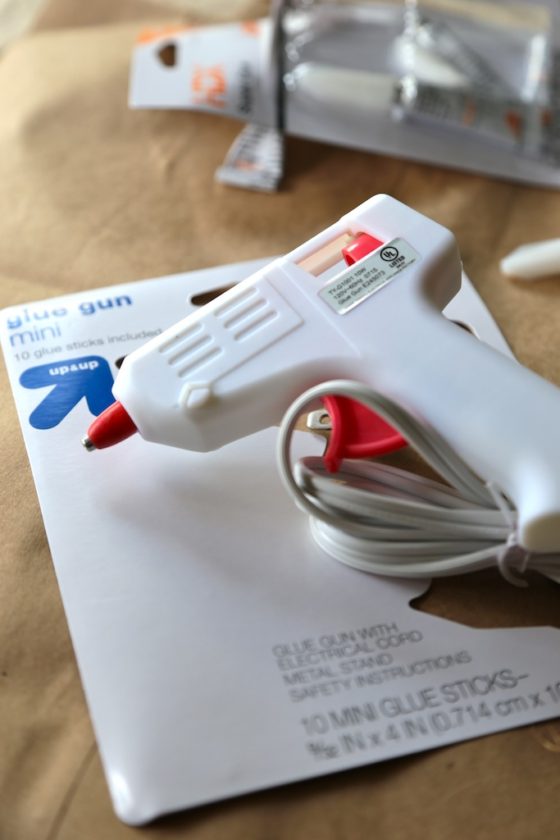 Then, because I was too lazy to dig to the very back of my storage closet on the deck to find the old glue gun that I may or may not have gotten rid of during some random purge. So I went to Target and picked up this mini-glue gun with glue sticks for $5.
It worked well, because I didn’t, in fact, have one in my storage closet, and this one is the perfect size. 
To make these cuties, I anchored one end of the rope to the glass with a dab of hot glue and held it there until the glue cooled. I followed that up with a string of hot glue to create a wrapped rope pattern along the outside of the jar. 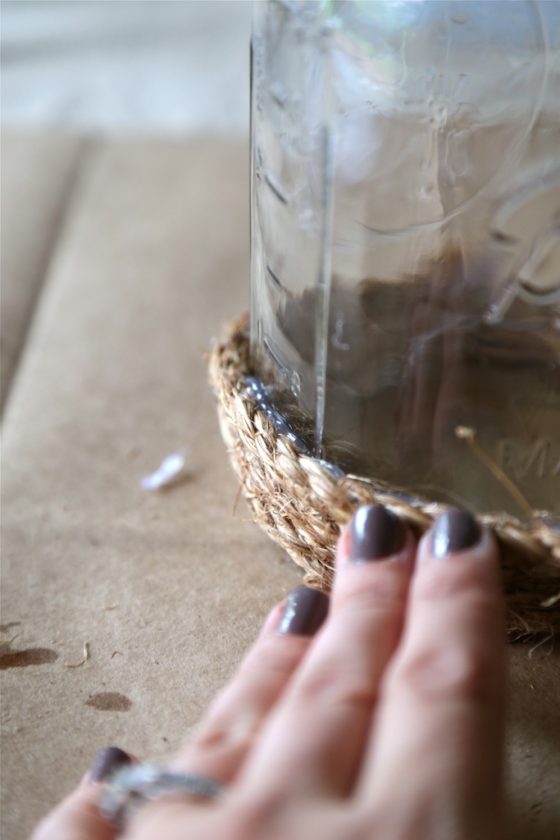
The glue will cool very quickly on glass, so glue and press rather quickly. You will find out what system of rope/glue/press works best for you. When you wrapped the glass jars with the amount of rope you want, use a serrated knife to cut the rope and secure to the glass with another dollop of hot glue and let it cool. I tried cutting the rope with scissors, kitchen shears and just cutting with a knife, but a serrated knife worked best – like a saw.
Just lather, rinse, repeat with the rest of your jars!
Jars come in all shapes and sizes, so mix and match them to suit your home decor!
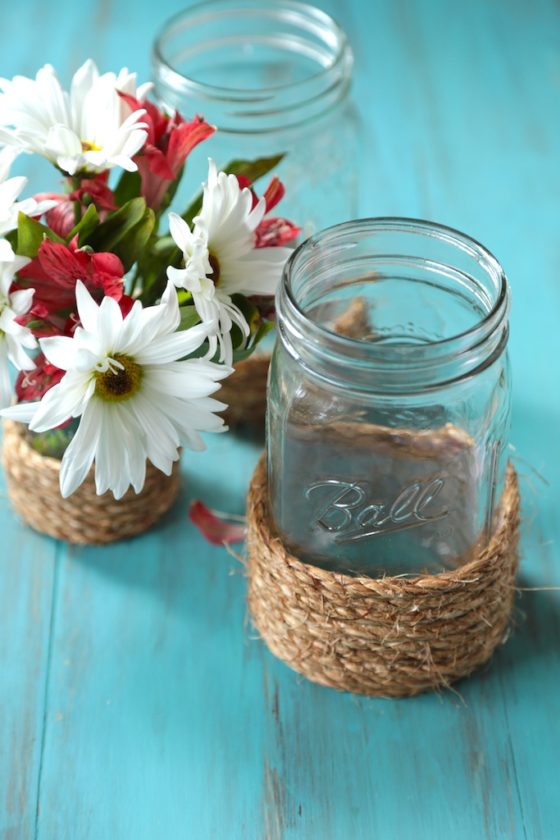
Cute can be cheap! AMIRIGHT?!

Love this! I have a party coming up this fall and these would be a perfect centerpiece. Pinned publicly and to my secret event planning board too! 🙂
Such a cute idea! Turned out lovely
These are super cute! You’ve inspired me with how easy they seem to make 🙂 I need one of those little glue guns like you grabbed — like you, I may or may not have one somewhere! Fun craft!
These are too cute! I love this idea!
These are cute, they turned out great! I am not crafty, but I think I could handle this. Then you could fill with candy even, for a fun centerpiece!
This is such a great decoration! I will be sharing it with my sister who loves making this type of stuff! 🙂
Very cute!
Oh wow those are so adorable!! I’m not very crafty, but I think I could totally handle this one 🙂
Such a cute and clever idea – love these!
Pingback: DIY Favorites - Mason Jar Projects - Spinster Simone
Megan, I have seen a ton of DIY tutorials on painting mason jars, installing flags and candles into them, but never anything like yours! Wow, what a great idea. Thanks to your guidance, it took me less than an hour to make this with half a dozen regular pint size mason jars, and they do look a lot like on your pictures! Beka must be such an inspiration! Thanks again and have a great day!
Pingback: Diy Room Decor With Things You Have At Home | DIY Project at Home