Lessons in Cake Decorating
This post may contain affiliate links, that if you make purchases through, I will earn a small commission.
The duties of an aunt much like that of a grandmother are relatively the same, we spoil the kids, pack them full of sugar, let them run around like heathens and then hand them back to their parents for them to deal with the repercussions.
It’s a brilliant plan.
I say this full well knowing that when my time comes for kids, this is the fate that will befall me as well. What goes around comes around – two fold.
Knowing this however, I still set about to spoil my nephew for his birthday, making him a third birthday cake of epic proportions – at least in a three year olds eyes. It was my duty to blow him away.
Serious business!

Last Thursday I began my task dying fondants, making decorations and generally preparing for an all day Friday and early morning Saturday baking and decorating MARATHON. SO. Worth. It!

Have you ever worked with fondant? Usually it’s something you see on wedding cakes, given the finished and refined look is yields. But to the cake consumer, it’s something most can live without. The only discernible taste is sugar and paste. Maybe a hint of vanilla if you pay close enough attention. Being that it’s too much of a pain to make your own – I opted for the boxed stuff. It’s consistent, easy to handle (as fondant goes) and just plain more convenient.
To dye fondant, just take a toothpick of your chosen color and gradually add in more dye as you go. I had a batch of ridiculously green leftover from some trees, so instead of dying a whole new batch of lighter green, I mixed in a nickel sized ball of dark green into a mound of white fondant. Instantly lighter and perfect tinted I was ready to go. The other thing to remember about fondant is that when it gets warm from your hands, it gets sticky. To remedy this have a small dish of Crisco handy. Constantly line your hands with a little Crisco to make sure you avoid that nagging stick.
And not to mention you hands will come out baby smooth afterwards.
When all of the fondant was dyed and set aside in air tight wrappers, it was time to bake! Funfetti was where it was at for this cake. What three year old (or adult for that matter) doesn’t like funfetti cake?
I didn’t think so! Funfetti is a universally adored cake.

Since I started decorating, one of the most critical things I learned to do before frosting was to flip your cake. How counterintuitive is that? But, really making the bottom of the cake the top of it will ensure that it’s level and crumb free!
I should note that before you flip it, you should level the actual top of the cake. That silly little dome that forms during the caking process is an eye sore. With most of us lacking the conveniences and brilliance that is a convection oven, hot spots are created in the oven and without proper air circulation the cake bakes from the outer edges inwards. When the edges get done, it pushes the uncooked batter to the center until it has no where to go but up. Ugh. One way to stop this is with these. But I digress…
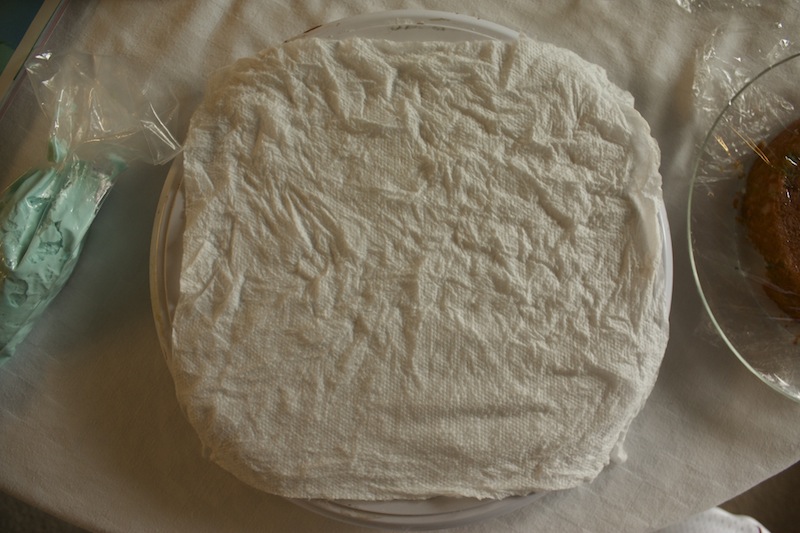
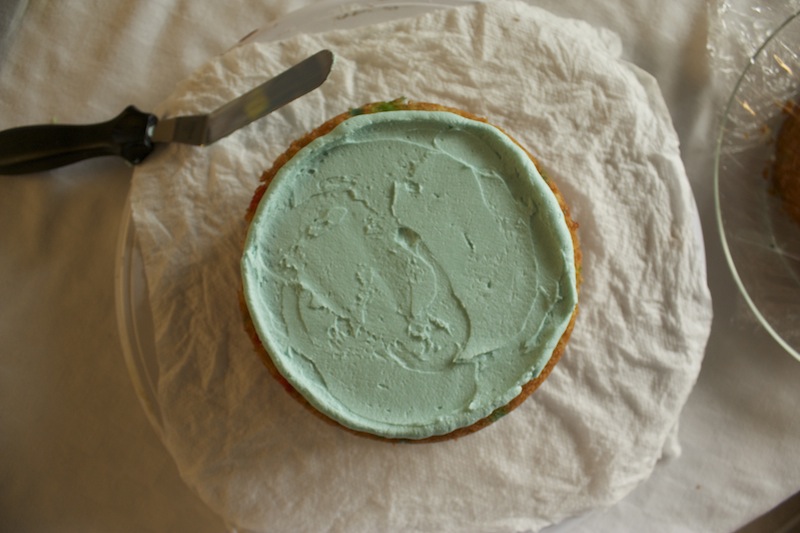
After my cakes had been leveled and flipped, stacking them was the next order of business. On a decorating turn table, I laid out a damp piece of paper towel to make sure there was ample traction for my cake. There’s no use chasing it all around the table to frost it on the run.
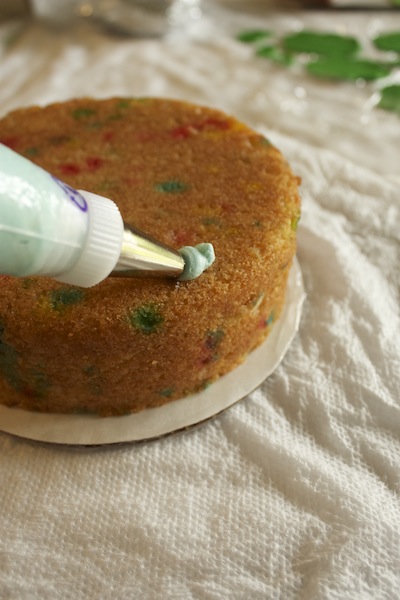
Here I have my top tier ready to frost, bottom’s up on a cake board. Since the top tier is two layers, I decided to fill the layers with frosting. Beka has told me on numerous occasions that I’m an old person masquerading as a 25 year old for my love of jam in cakes, tapioca pudding and prunes. Don’t judge. But since this is a cake for a three year old, more frosting and sugar was a necessity.
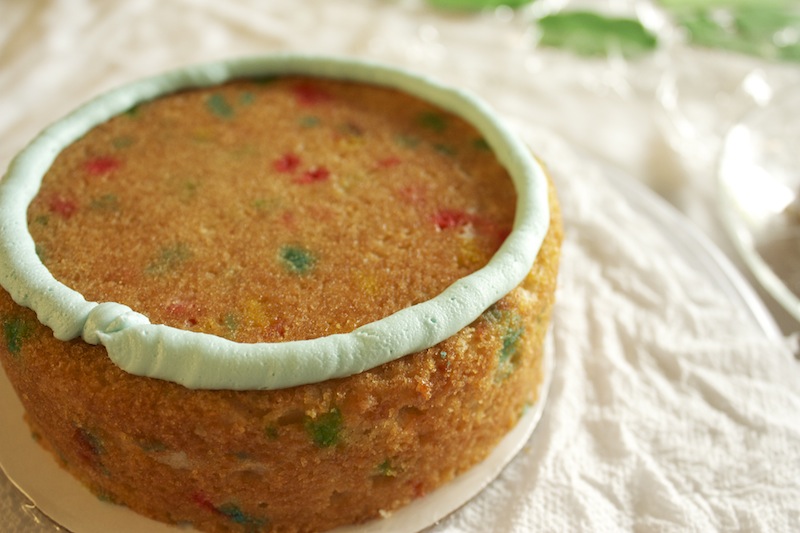
When you fill your cakes, create a barrier 1/4″-1/3″ from the outer corner of your cake. This will make sure that when you fill your cake the goods won’t come shooting out the sides sullying your outer layer of frosting. And when you add the top layer, you want to make sure the barrier of your filling will squish down enough just to reach the outer edge but, again, not come shooting out the sides. Hence, the 1/3″ inset of your barrier. Capeesh? Good.
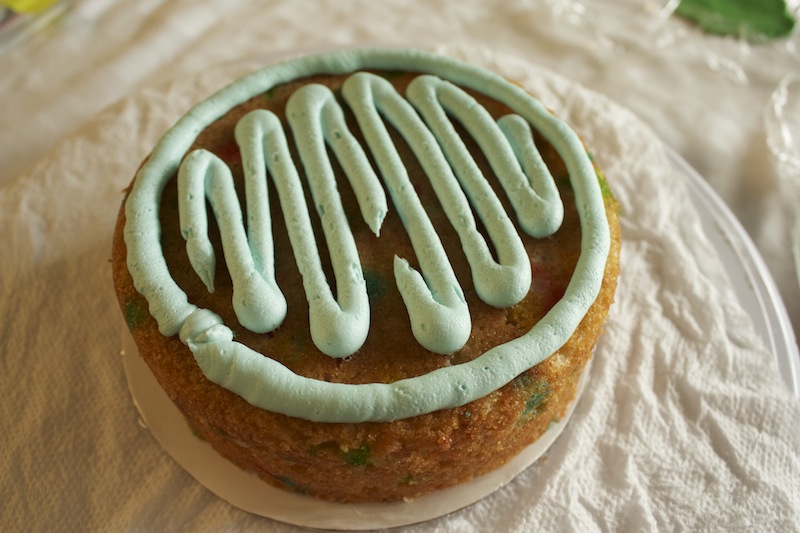

With an angled spatula I went about distributing the rest of my frosting filling. One note that should be made, is to use only one edge of your spatula. When you swirl it back and forth you run the risk of pulling up frosting and crumbs – ipso facto crumb laden frosting! No bueno. So move in one direction with one edge of your spatula.
After the middle layer was all done, I gingerly plopped the second layer right one top and look –

the filling comes right out to the edge and no further! Fool proof.
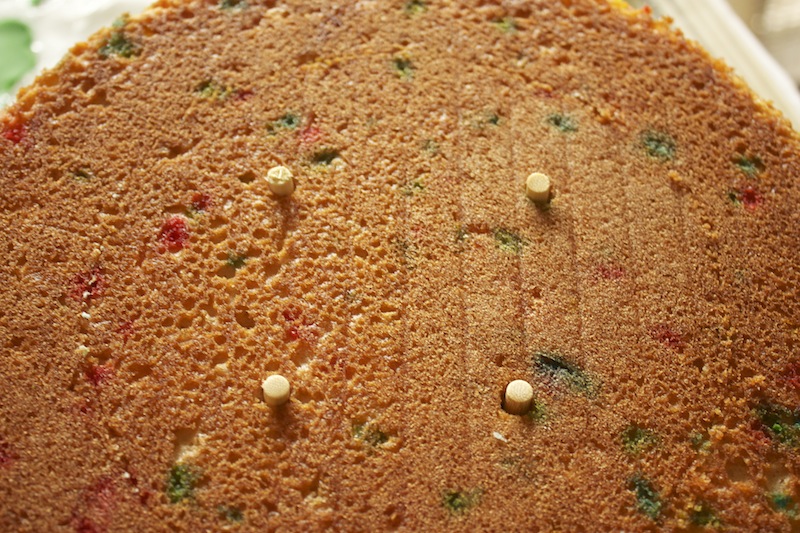
For the large bottom layer cake I repeated the filling techniques above and impaled the cake with 4 – 4″ bamboo dowels. The last thing anyone wants is the top of cake falling through the bottom right before you cut it. The small layer cake I constructed above was set on a 6″ cake board that will rest direction on the dowels creating the support system this cake needed.

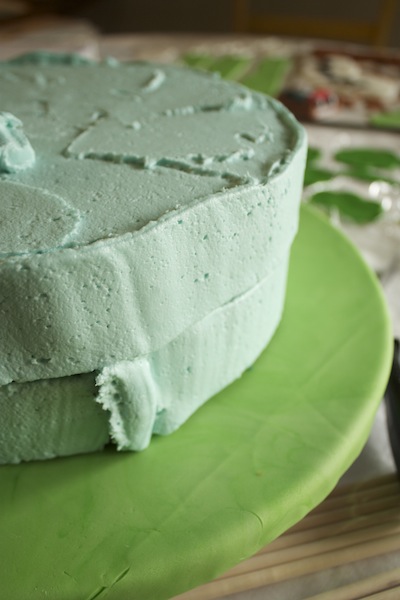
To frost the rest of the cake I took a ginormous 18″ cake bag with a large frosting tip, and on the same turn table as before I piped on a rough layer onto the top of the cake. All the is needed to finish this is to take your angled spatula again and smooth it all out. This frees up about 50% of the time you’d normally spend unceremoniously dolloping on frosting and smoothing it out little bit by little bit.

The process was repeated on the sides of the cake as well. Just make sure that the tip of your bag is barely touching the cake. You want to makes sure that the frosting actually sticks to the cake and doesn’t just rest on it.
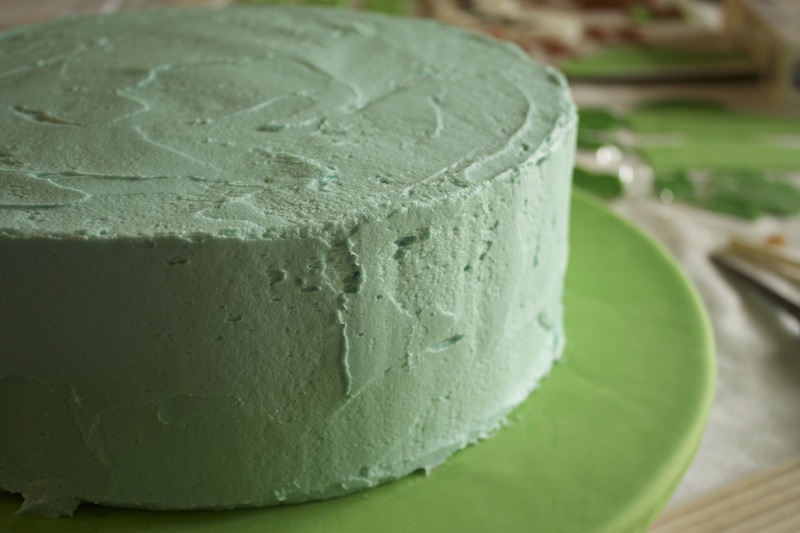
Vio La!
With any cake that isn’t perfect the first frost around, you can always let it air dry for about 20 minutes, then lay a piece of wax or parchments paper atop it, and your angled spatula gently run it on top of the paper smoothing it out. Easy peasy.
Decorating isn’t quite as daunting when you have the tips and tricks to do it right. So go frost a cake for your favorite somebody and blow them away with your sheer decorating genius!!
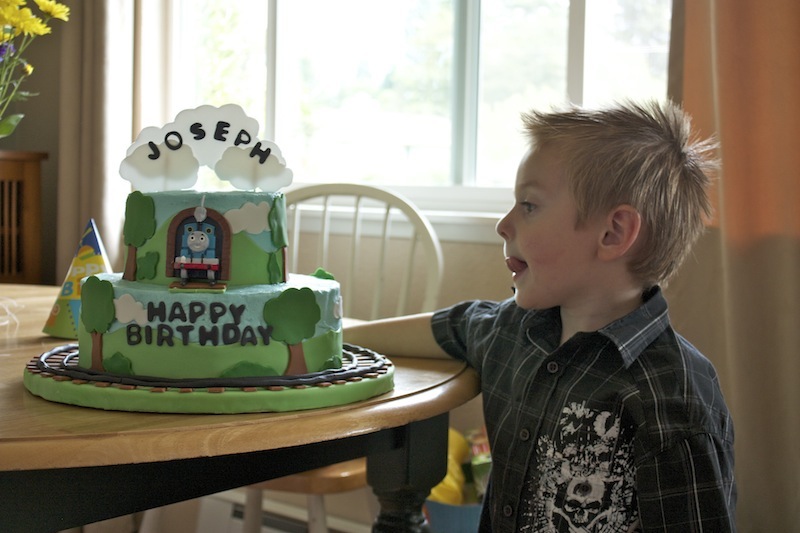
If he’s licking his lips it must have turned out okay.

Final Product! And a very happy (and sugared out) 3 year old. For the WIN!
This site contains affiliate links, if you make a purchase through them, we receive a small commission.
Oh. Em. Gee. GORGEOUS. STUNNING. IMPRESSIVE. Love the tip of doing the base frosting with a large pipe bag. Never thought of thought. Too bad I sold all my cake decorating supplies at a garage sale. 🙂 LOL
WOW! This cake turned out beautifully. Nice work!
HOLY COW!!!! Megan you are so talented! That cake is GORGEOUS! So wish you lived here in Houston and could teach me some of your skills!
OMG, i wish i could make cakes like that. you should be on those food network cake competitions. looks awesome
It turned out so great! Congrats!
http://chicgeekery.blogspot.com/
Absolutely stunning! Those large frosting tips are the best invention ever. Well done!
This is such a good stuff and keep up the good work. I read a lot of blogs on a daily basis and for the most part just wanted to make a quick comment to say I’m glad I found your blog and I am happy to come again to see new post.
What a gorgeous cake!!!
Haley @ The Girly Girl Cooks
WOW!!! Well done! That's impressive. Lucky kid 🙂
Why are your tutorial cakes green but the finished product blue?